How to Make a Rye Sourdough Starter from Scratch in 4 Easy Steps
For many years I tried to maintain a white flour starter and always failed miserably: it required too much care and attention, which most of the time I was too busy to deliver. So after multiple attempts, I had roughly given up on the sourdough idea already, when suddenly… I found out about the marvels of 100% rye sourdough starters.
A sourdough culture based entirely on rye flour is easier to maintain, it does not turn into smelly, useless mud like a wheat flour starter does when you forget about it. It is also easier to stir because it has very little gluten, and it is very forgiving when it comes to proportions when you feed it. It’s the best friend of the “weekend baker”, perfect for the type like me that can’t take care of that demanding jar of sourdough as if it were a child, but still occasionally wants proper, crunchy, healthy bread.
Not all of us are so lucky to have a sourdough starter passed down to us from our bread-baking ancestors or have weird enough friends who enjoy baking bread regularly and can share a piece of the precious yeast. Thankfully, making a fresh batch of rye sourdough starter from scratch is as simple as stirring together some flour and water and letting it sit for a while – easy peasy. Let’s do this together.
First of all, let me say that everything I know about rye I learned from Ed & Marieke of Weekendbakery.com, whose site I would recommend you check out for a lot of interesting information and findings about sourdough cultures and bread making. Since they do a much better job at explaining the science behind sourdough than I ever could, I’ll skip the theory and go straight into guiding you along the miraculous birth of a rye sourdough starter.
I started with a tiny amount of water and flour so as not to waste too much stuff, both expecting to fail and because you have to throw half of the starter away each time you refresh the starter. When your starter is alive you can always grow it quite quickly by doubling up on your refreshing efforts, so I suggest starting small.
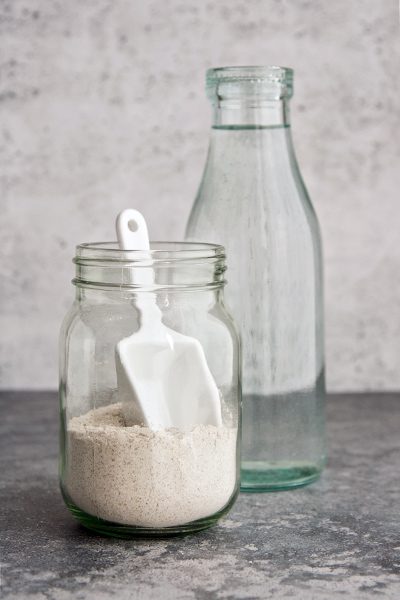
First step: wash your hands thoroughly, take a small sterilized jar, add 40 ml of water and 40 g of whole-grain rye flour, stir nicely with a spoon, and loosely close the lid. Put an elastic band around the jar to mark the height of the mixture so you can monitor how it grows. Store at room temperature out of direct sunlight for 24 hours. I kept my jar in the cupboard, it worked well.
Here is a pic of the first mixture of flour and water, when you just hang in there praying something will happen.

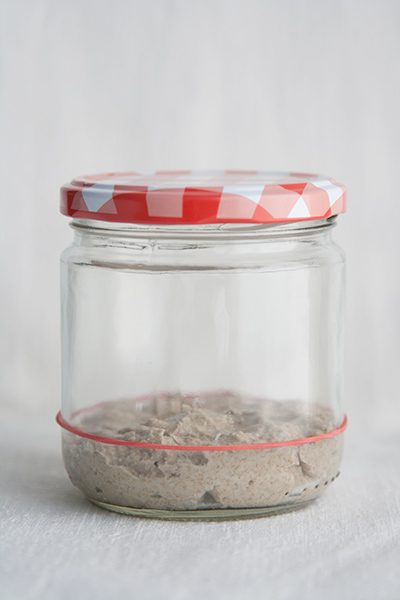
Second step: if you are lucky you could see some super tiny bubbles of air in the mixture, but if not, no panic, no big deal! Add 20 ml of water and 20 g of whole-grain rye flour, stir as usual, and move the elastic band to the corresponding new height. Loosely close the lid and forget about the project again for 24 hours.
Here is a picture of the mixture after 24 hours. It has grown, but no bubbles yet, nothing to write home about.

Third step (not necessary if everything works well): your mixture should now be getting active, but this very much depends also on the environment you work in; when I tried my second starter it grew faster because of the bacteria that are already in my kitchen from the previous starter, but yours might take longer. If your mixture is not gently bubbling up yet, throw away half of the mixture and repeat the directions of the second step. Still no panic.
Here is a picture of the mixture if you have been lucky.

Fourth step: when your starter is active, throw away two-thirds of it and add 30 ml of water and 30 g of whole grain rye flour, stir, close the lid as usual, and store away. This is the last step, the actual feeding of the starter, the beginning of a beautiful relationship with the little rye monster in your fridge.
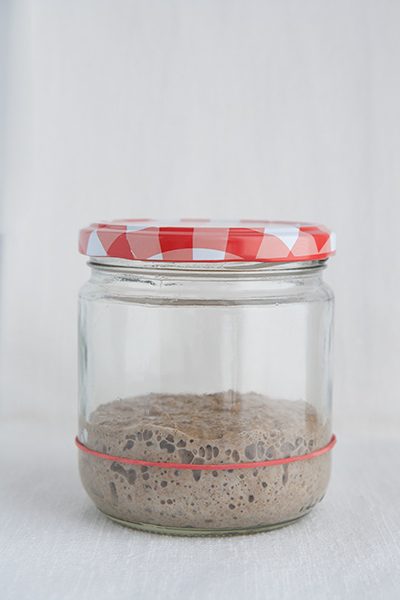
Here is a picture of my active, normal starter right after I feed it.
Your starter should now be fully active and strong enough to double in size during a 24-hour window. Refresh it once again, same procedure, to check that it’s all right. If your starter does not double in size consistently after these first steps, return to step three and continue until it does. It will, eventually, double. I promise.
Here is a picture of my active, normal starter after it’s been fed, it has grown, and it’s ready to go into the fridge.
You can now let your starter rest for a few days. After refreshing, I keep my starter inside my microwave (it’s cozy and dark!) for 12 to 24 hours, wait for it to double in size, and then store it in the fridge until the following week.
A rye starter does not need much maintenance: a starter kept in the fridge should at least be refreshed every two weeks, but that’s a lot less than a normal wheat starter, so count your blessings.
Once your starter is ready, I’ll teach you how to make the simplest, yummiest 100% rye bread with it, using an easy Swedish recipe that is foolproof and yields amazing results. I’ll post it on the blog next week, so stay tuned.